Installing beautiful, durable tiles in your swimming pool requires using the right adhesive and application techniques. Learn the critical do’s and don’ts when selecting and working with tile adhesives for your pool tiling project. Adhere to the standard adhesive application to avoid unnecessary maintenance costs – enjoying a worry-free swim with family and friends.
Do: Choose a Waterproof Epoxy Tile Adhesive
Don’t: Use Standard Thin-set Mortar
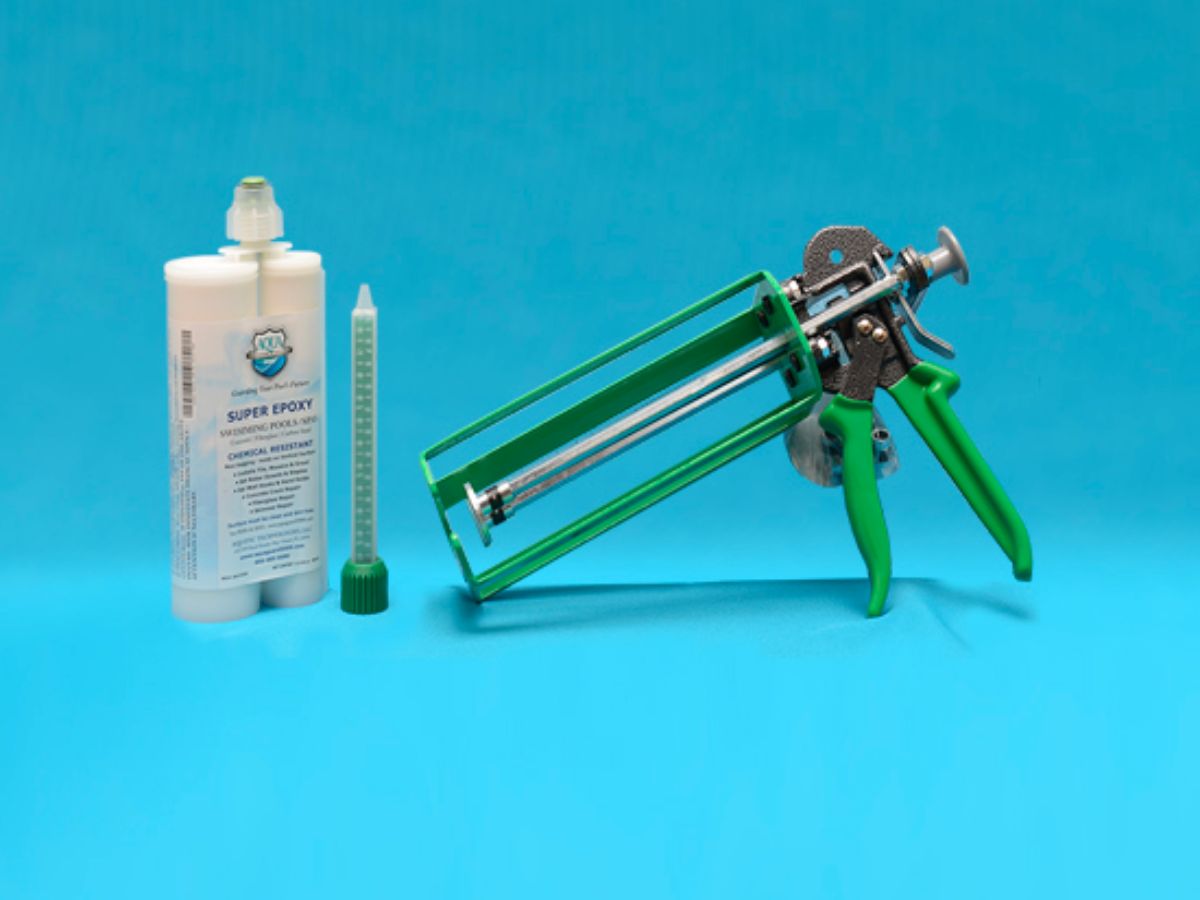
When tiling a pool, using a waterproof epoxy adhesive rather than standard thin-set mortar is critical. Epoxy adhesives are specially formulated to create a firm, water-tight bond that can withstand prolonged water submersion. Opt for a versatile epoxy like AquaGuard Super Epoxy that bonds well to concrete, fiberglass, and porcelain.
In contrast, standard thin-set mortar is not designed for continual water exposure. It will eventually soften and fail in wet environments like pools, causing tiles to crack or be loose. Always select a pool-friendly epoxy.
Do: Prepare the Surface Correctly
Don’t: Tile Over Improper Surfaces
Proper surface preparation is key for proper adhesion. Ensure the pool surface is structurally sound, clean, and free of waxes, oils, paints, sealers, and coatings. Etch or lightly grind concrete to expose a textured surface that epoxy can grip. Follow all adhesive specifications for approved surfaces and prep methods.
Never tile over cracked, deteriorated, or dirty surfaces. Adhesive failure is inevitable if the structural integrity is compromised or bond inhibitors are present. Don’t take shortcuts – always prep surfaces according to the adhesive manufacturer’s recommendations.
Do: Carefully Follow All Epoxy Application Instructions
Don’t: Disregard Technical Specs
Failing to mix and apply epoxy adhesive according to specifications correctly can severely compromise performance. Always carefully follow the technical instructions for epoxy products. This includes proper mix ratio, open time, temperature range, and environmental conditions.
Don’t mix adhesive improperly or ignore open time limits. When working with any pool adhesive, adhere to all listed usage guidelines and application instructions to achieve optimal, long-lasting bonds. Read labels thoroughly!

Do: Use the Right Trowel and Technique
Don’t: Apply Adhesive Unevenly
Using the proper size trowel and technique ensures a uniform application for all tiles. Hold the trowel to the surface at a 45° angle and apply even pressure when combing on the adhesive. After going in one direction, flatten the trowel ridges by going back over the adhesive.
Avoid using the wrong trowel size or inconsistently applied adhesive. This can create thin spots or leave excess adhesive that squeezes up between tiles. Take time to apply adhesive skillfully for professional results.
Do: Work in Small Sections
Don’t: Adhesive Large Areas
One key mistake is applying adhesive over a large area you can’t tile within the open time. The adhesive may skin over or lose tackiness. Instead, work in smaller 3-4 square foot sections to set tiles before the adhesive cures.
Don’t rush and over-adhesive areas. This risks the epoxy curing before you can set tiles, negatively impacting bond strength. Pace yourself and tile in manageable sections.
Do: Allow Proper Epoxy Cure Times
Don’t: Grout or Get Tiles Wet Too Soon
It’s critical to honor all adhesive cure times. Epoxy needs 24-48 hours to set before grouting or water exposure. This allows the adhesive to form a solid bond. Avoid grouting or filling the pool until after the recommended curing period.
Never allow foot traffic, grouting, or water contact before the adhesive has fully cured. This can weaken bonds before they have developed full strength. Be patient and always observe cure times for durable results.
Do: Inspect and Maintain Tiles
Don’t: Ignore Loose or Damaged Tiles
Even when installed correctly, pool tiles can become damaged, cracked, or loose over time. Routinely inspect tiles during maintenance. Re-adhere or replace any problem tiles right away to prevent further damage. Be proactive with repairs.
Don’t ignore signs of tile problems like cracks, gaps, or loosening. Small issues will progress quickly in pools. Stay on top of tile maintenance for safety and to protect your investment in a quality tile finish.
Answers to Common Queries On Tile Adhesives
-
What type of tile adhesive should I use for a pool?
For pools, only use a waterproof epoxy adhesive. Epoxy is formulated to cure solids underwater and provides the strongest, longest-lasting bond in wet environments like pools. Popular epoxy adhesives include AquaGuard Super Epoxy.
-
How do I prep the pool surface before applying adhesive?
Proper surface prep helps ensure a good bond. The surface should be clean, dry, and structurally sound. Remove any old sealant or coatings. Concrete should be textured. Follow all manufacturer specs for approved surfaces and preparation.
-
How long does pool tile adhesive need to cure before grouting?
It’s important to allow the adhesive to initially cure before grouting. This is usually 24-48 hours for epoxy adhesives. If you grout too soon, the grout can interfere with the adhesive curing and bonding properly. Always follow cure times.
Adhere to the Do’s and Don’ts of Adhesive Application, so Nothing Falls Off
Using the right tile adhesive and application techniques for your pool tiling project is key to creating a professional-looking, long-lasting finish. Carefully follow epoxy adhesive instructions and allow proper curing. Fix any loose or damaged tiles promptly.
Contact AquaGuard 5000 to learn about our pool tile adhesives and professional tiling services. Our 400 ml Injector Dispensing Gun Kit makes quick work of pool crack and tile repairs.


