Installing new tiles is one of the best ways to give your swimming pool a beautiful facelift. With the right preparation, high-quality materials, and proper technique, tiled pools can last decades without cracking, chipping, or delamination.
The key to success is proper pool surface preparation before applying tile adhesive. Follow this comprehensive guide to learn all the steps to prepping concrete, plaster, fiberglass, and other pool surfaces for flawless tile installation.
Cleaning and Etching the Surface
Thorough cleaning is the first critical step for proper adhesion. All pool surfaces must be free of contaminants like oils, built-up grime, chalky deposits, scale, algae, and more.
Start by draining the pool and using a pressure washer to clean all surfaces. Aim for at least 3,000 PSI pressure to remove existing coatings or stubborn residues. Pay extra attention to the waterline, an area prone to buildup.
The next step for concrete, plaster, or pebble pool finishes is acid etching. This opens up tiny pores in the surface for the adhesive to grip onto. Pickling acid or muriatic acid both work well. Dilute to a 10-15% concentration and apply liberally using a plastic sprinkling can. Scrub vigorously with a stiff bristle brush.
After 10-15 minutes, rinse thoroughly until the pH returns to normal. Etching makes surfaces rough, which improves mechanical bonding. Always wear gloves, goggles, and appropriate skin protection when handling acid.
Repairing Damage
Inspect the cleaned surface closely and make repairs to any cracks, eroded areas, holes, and chips. This provides a smooth, even substrate for tiles to adhere to.
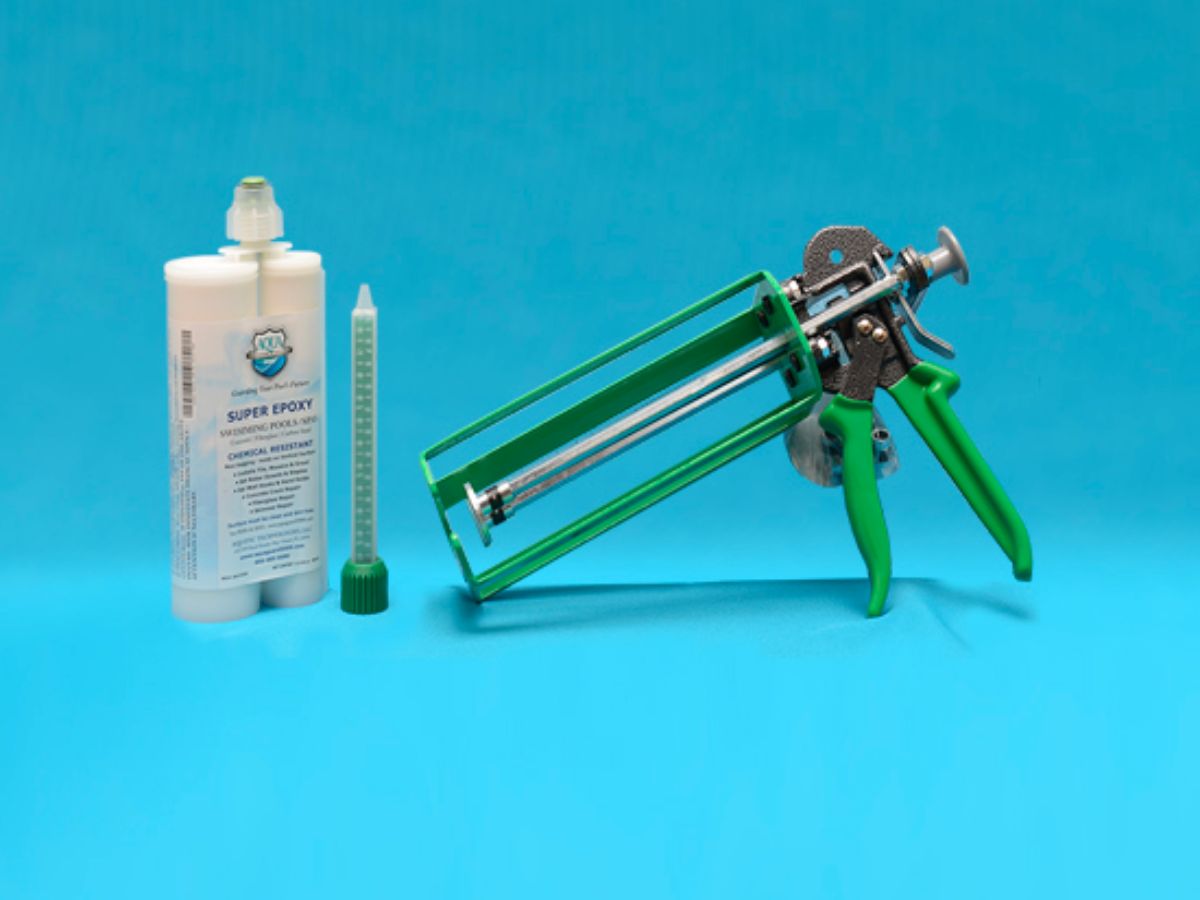
For minor cracks and chips in concrete, use a urethane or hydraulic cement designed for permanent repairs up to 1/2 inch in width. Apply a waterproof adhesive like epoxy, preferably in an injector, for easy crack filling.
Larger cracks may require chiseling the crack into a “V,” clearing debris and applying concrete patch binder and resurfacer in layers. Screw-hole patches can also be used to fill small voids. Take time with repairs for best tiling results.
Removing Efflorescence
Efflorescence is a white, powdery deposit that can develop on pool surfaces over time. It leaves behind salts that can interfere with proper tile adhesive bonding.
Use an efflorescence remover before adhesive application. These acidic cleaners dissolve and remove calcium carbonate deposits. Scrub and rinse thoroughly after treatment. Vinegar or muriatic acid also works.

Drying the Surface
Applying tile adhesive over damp surfaces is a recipe for failure. All surfaces must be completely dry first.
After cleaning, repairs, and efflorescence removal, allow the pool to air dry thoroughly in the sun for at least 3-5 days. You can also turn on the circulation system to aid evaporation.
Use a moisture meter to check for residual moisture, especially with concrete and plaster. Adapt TM1 explains acceptable moisture levels for adhesive bonding.
Priming and Applying Bond Coats
Some adhesives require priming or applying a specialty bond coat before use. Primers increase bonding on slick surfaces like fiberglass. Bond coats prevent moisture absorption issues.
Consult each adhesive’s specifications to see if it is recommended or required. Popular options include PA-4 Primer for fiberglass and metal, plus Fin-Lock Bonding Agent for plaster surfaces. Allow all primers and bond coats to dry fully before applying adhesive.
Backer Board Installation
The backer board creates a stable, non-porous surface for thin-set tile adhesives to grip. Use cement backer board or fiber cement board.
For fiberglass pools, secure backer board with stainless-steel screws into the walls/floor every 6-8 inches. Use silicone sealant between boards.
Vinyl liner pools may require removing and re-installing the liner over the backer board. Have a professional assess liner compatibility before tiling a vinyl pool.
Key Tiling Tips
Follow these pro tips during the tile adhesive application process:
- Select polymer-fortified thin-set or epoxy adhesives formulated for submerged conditions and pool chemicals.
- Closely follow all instructions for surface preparation, mixing, open times, set times, and curing.
- Use a properly sized notch trowel for even coverage and proper adhesive thickness behind tiles.
- Avoid walking on tiles or filling the pool for at least 7-14 days to allow the adhesive to cure fully.
- Grout with flexible epoxy or specialty grouts designed for wet areas.
- Use silicone sealant for expansion joints around fixtures, steps, and sharp corners.
Frequently Asked Questions on Tile Adhesive Preparation
-
What is the best tile adhesive for pool surfaces?
Two-part epoxy thin-set adhesives are the gold standard, offering superior bonding power for submerged applications.
-
Can I apply tile over plaster without a backer board?
Yes, plaster can be tiled directly, but the surface must first be properly etched and primed. Use a polymer-fortified mortar suitable for bonding to plaster without a backer board.
-
How long should I wait before filling a newly tiled pool?
Check adhesive specifications, but you typically must wait at least 7-14 days before filling. This allows the adhesive to fully cure and prevents lifting or dislodging tiles later. Avoid walking on the tiles during this time as well.
Strong Pool Tiles Starts With Fool-Proof Preparation
Ensuring durable, flawless outcomes in pool tiling demands thorough preparation of the surface. This initial effort is key to averting issues down the line, securing the longevity and beauty of your pool. AquaGuard 5000 specializes in offering top-tier tile adhesive products designed to enhance the durability and appearance of your pool tiles. Their high-quality products are essential for any successful pool tiling project. To discover more about how AquaGuard 5000’s products can elevate your pool, reach out today and take the first step towards a beautifully enhanced swimming area.


