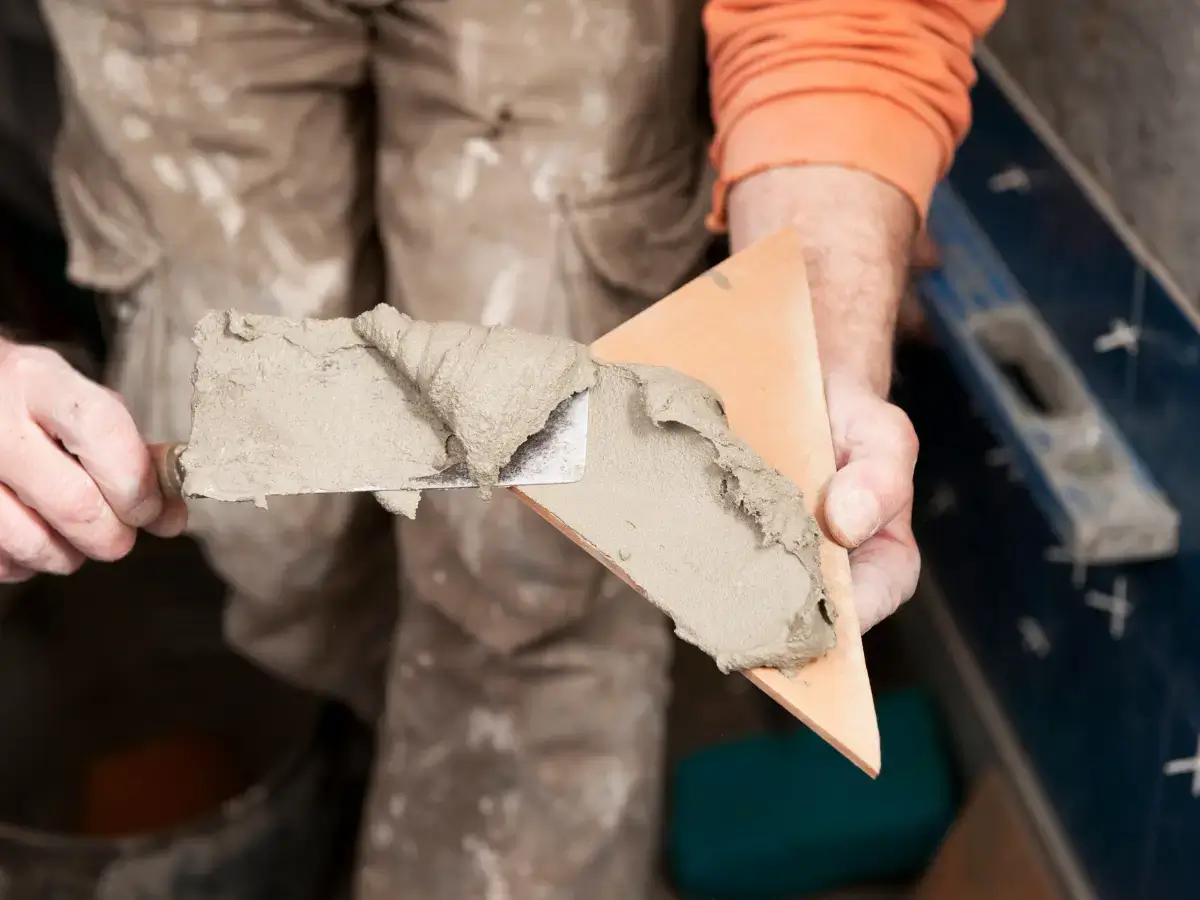
Are you ready to transform your pool with a stunning tile installation? Whether you’re a DIY enthusiast or a beginner tackling your first project, this comprehensive guide will walk you through the process of using tile adhesive for a successful pool application. You can achieve a beautiful and long-lasting result with the right tools, materials, and techniques. Let’s dive in!
Understanding Pool Tile Adhesive
Before we begin, it’s essential to understand what pool tile adhesive is and why it’s crucial for your project. Pool tile adhesive is a specialized bonding material designed to withstand the unique challenges of a pool environment, such as constant exposure to water, chemicals, and temperature fluctuations. It ensures a strong and durable bond between the tiles and the pool surface, preventing leaks and maintaining the integrity of your tile installation.
Types of Pool Tile Adhesive
There are two main types of pool tile adhesive:
- Cement-based adhesive: This type of adhesive is a mixture of cement, sand, and additives. It offers excellent bonding strength and is suitable for most pool tile applications.
- Epoxy-based adhesive: Epoxy-based adhesives provide superior strength and chemical resistance. They are ideal for demanding pool environments and can be used for installation and grouting.
Preparing for Your Pool Tile Installation
Before you begin applying the tile adhesive, it’s crucial to properly prepare your work area and gather the necessary tools and materials.
Tools and Materials
- Pool tile adhesive
- Notched trowel
- Mixing bucket
- Drill with mixing paddle attachment
- Sponge and water for cleaning
- Tiles of your choice
- Grout (if not using an epoxy-based adhesive)
- Waterproof sealant

Surface Preparation
- Clean the pool surface thoroughly, removing dirt, debris, or loose materials.
- Repair any cracks or damage to the pool surface to ensure a stable base for the tiles.
- Allow the surface to dry completely before proceeding.
Mixing the Tile Adhesive
Follow these steps to mix your pool tile adhesive properly:
- Pour the recommended amount of water into a clean mixing bucket.
- Gradually add the tile adhesive powder to the water, mixing continuously with a drill and paddle attachment.
- Mix until you achieve a smooth, lump-free consistency like pancake batter.
- Let the mixture stand for a few minutes, then remix briefly before use.
Applying the Tile Adhesive
Now that your adhesive is mixed and your surface is prepared, it’s time to apply the tiles
- Using a notched trowel, spread a thin layer of adhesive onto the pool surface, covering an area of approximately 3-4 square feet at a time.
- Place the tiles firmly onto the adhesive, using spacers to maintain consistent gaps for grouting.
- Press each tile gently to ensure proper adhesion and eliminate air pockets.
- Continue applying adhesive and tiles until the desired area is complete.
Tips and Techniques
- Work in small sections to prevent the adhesive from drying out before you place the tiles.
- Use a slightly damp sponge to clean any excess adhesive from the tile surface and grout lines.
- Consider using a flexible tile cutter or wet saw for intricate designs or curves for precise cuts.
Grouting and Sealing
Once your tiles are set, it’s time to grout and seal your newly installed pool tiles.
- Allow the tile adhesive to cure according to the manufacturer’s instructions, typically 24-48 hours.
- Mix your grout according to the package directions and apply it to the tile joints using a rubber float, ensuring all gaps are filled.
- Remove excess grout with a damp sponge, not disturbing the freshly applied grout.
- Let the grout cure for the recommended time, then apply a waterproof sealant to protect your tiles and grout from moisture, stains, and chemicals.
Frequently Asked Questions about Tile Adhesive
-
Can I use regular tile adhesive for my pool application?
No, it’s essential to use a specialized pool tile adhesive designed to withstand the unique challenges of a pool environment. Regular tile adhesive may not provide the necessary waterproofing and chemical resistance, leading to premature installation failure.
-
How long should I wait before filling my pool after installing tiles with pool tile adhesive?
It’s recommended to wait at least 7-10 days before filling your pool to allow the tile adhesive, grout, and sealant to cure fully. This ensures a strong and durable bond that can withstand pressure and exposure to water.
-
Can I apply pool tile adhesive underwater?
No, pool tile adhesive should not be applied underwater. Before beginning your tile installation, the pool surface must be drained and completely dry. Applying adhesive to a wet surface will compromise its bonding strength and lead to failure.
Dive into Your Pool Tile Project with Confidence
With this beginner’s guide, you have the knowledge and confidence to tackle your installation using pool tile adhesive. Remember to choose the right type of adhesive, prepare your surface properly, mix the adhesive thoroughly, and work in small sections for the best results. By following these tips and techniques, you can create a stunning and long-lasting tile installation that will enhance the beauty and functionality of your pool.
Are you ready to transform your pool with AquaGuard 5000’s top-quality pool tile adhesive? Visit our website or contact our experts today to learn more about our products and how they can help you achieve the pool of your dreams!


